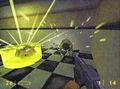
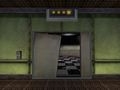
Office Complex

| |
| Office Complex | |
|---|---|
| Game information | |
| Designer(s) | |
| Map(s) |
|
| Previous chapter | |
| Next chapter | |
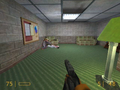
Office Complex is the fourth chapter of Half-Life.
Contents
Overview[edit]
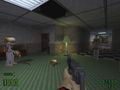
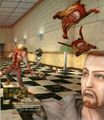
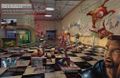
The elevator from the previous chapter takes the player to the Administration Center in Sector D,[2] which consists of offices, storage rooms, and a cafeteria with a large walk-in freezer. The goal is to go through the ruined alien-infested complex to reach the surface level. Along the way, the player overhears rumors that the military has arrived to rescue the people.
There are several civilians who barricaded themselves in their rooms, hiding from the rampant aliens overrunning the facility. The player is able to interact with these non-player human characters. They can help him kill the enemies, or heal him when he is low on health.
Most of the puzzles involve the player trying to reach the other side of locked doors, which forces them to find alternate paths to reach their goal. The player has to push objects, explore air ducts, activate or deactivate various electrical mechanisms, and avoid hazards to proceed in the chapter.
Development[edit]
Alpha[edit]
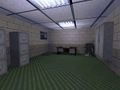
The chapter is known as The Office Warrens in this version. It is described as a set of areas consisting of office complexes in a Cold War era style.[3] There is a group of Marines stationed at the first floor offices, but they can be skipped using an alternate path to the second floor. The second floor is much larger, and has many areas to explore. Here, the player must go through a series of air ducts and make it through the girders on the top of the cafeteria to reach the exit.
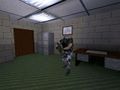
While not seen in the game, many unused enemies are referenced in the map files, such as the Barnacles. The Zombies were to appear in the last map, coming out of walls and attacking the Marines, like in the scene in the final game. The Human Sergeant can be seen in previously recorded demo files, but not in the game. They were to appear in three locations, the storage room in the first map, the cafeteria, and the balcony area.
Pre-release[edit]
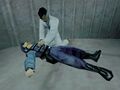
The chapter was first revealed in a screenshot that features Ivan the Space Biker on the first floor. It was one of the first two screenshots released to promote the game. The chapter was one of the popular locations featured in the marketing material for the game. A gameplay video showing the entire chapter was shown at E3 1998. In the short version of the video, the player goes through the first floor infested with the Zombies. A scientist attempting to revive a wounded security guard can be seen at the end of the video. This scene is used in the chapter Unforeseen Consequences in the final game. The scripted sequences from the demo can still be found in the maps.
Retail[edit]
According to Marc Laidlaw, the gameplay in this chapter is slanted toward the player who is still mastering basic skills, while preparing the player for more dangerous encounters ahead. The layouts of the maps are simple and linear. However, the player is forced to explore and find alternate routes to reach their goal, which is usually shown behind locked doors.
The player can learn how to interact and work with non-player characters, and solve small-scale puzzles, such as deactivating turrets and electrical threats, pushing and climbing on objects to reach unreachable areas.
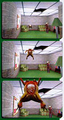
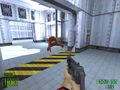
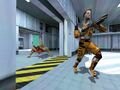
In addition to slow enemies, such as the Zombies, the player also encounters squads of Vortigaunts with long-range attacks who work as a team, but are weak and fairly easy to kill. They were placed to allow the player to experience fighting against a group of enemies, and develop the skills they’ll need to survive encounters with Marines in the following levels.[1]
Other versions[edit]
In Day One, the storage area (map c1a2d) where a security guard behind a fence is found is part of the first map (map c1a2). The layout for the first map is also different.
The Dreamcast version includes some changes done for performance reasons. The elevator malfunctions at the beginning of the chapter (right after the level transition), making it impossible to go back to the previous level. The first floor layout was changed, some objects were made static and unbreakable, or simply removed, along with dead bodies. The Barnacles in the second map were removed. The level code for the chapter in the Dreamcast version is "Files and Fear".
The PlayStation 2 version appears to be based on this version, and is nearly identical with minor changes, including updated visuals. The hanging scientist in the flooded office is not present in this version. In the Source port of the game, which is a direct port of the original game, the hanging scientist gets pulled up. There is a multiplayer map called Office based on a level (map c1a2a) from Office Complex in the PlayStation 2 version. It is also included in the Dreamcast port, but it is unused.
The demo of the PlayStation 2 version features the first two levels of the chapter with minor changes. The game starts in the hall next to the flooded laboratory. It is impossible to go back to the first hall. The storage area with the fence is part of the first map, similar to the Day One version. The crate puzzle was cut, but the crates (now breakable) are still present. They can't be used, however, to climb up to reach the ceiling area. Instead, the player has to go through the air duct in the flooded laboratory, which leads to the storage room. The chapter ends before the cafeteria area on the second floor.
Behind the scenes[edit]
- According to the unused sound files, the security guard behind the locked fence area (map
c1a2d) was to get cornered by a Zombie, while being watched by a scientist and the player. The guard would try to kill the Zombie by punching and kicking him, but the Zombie would throw him into a wall, killing him. The scientist was to tell the player to pick up a gun and shoot the Zombie. The animations for the scene can be found in Day One files. - There is a
trigger_oncebrush in the flooded office that triggers an entity calledshockjump, which is not present in the map. This could be related tojumpshock, an unused animation for the scientist, showing him attempting to jump across a small gap only to fall to the floor and be electrocuted. It can be found in Day One files. - Unused Black Mesa Announcement System lines for the chapter can be found in the sentences file used for the speech system. The name of the chapter is Administration Center, Sector D in the document.
Easter eggs[edit]
The directions sign facing the elevator doors at the start of the chapter reads "work harder, not smarter". Dr. Newell (a nod to Gabe Newell) and Dr. Van Buren (Bill Van Buren) door signs can be found in the chapter. Unused Sgt. Harrington (Mike Harrington) sign texture[i] can be found in the game files.
Trivia[edit]
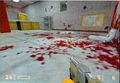
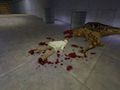
The player can destroy the hanging slabs of meat in the freezer to feed the Bullsquids and have them ignore the player for a short time.[4] There is an unseen monster who drags humans into ceilings and air ducts, and kill them. It is briefly seen in the previous chapter, Unforeseen Consequences, killing a scientist. It uses the sound effects of Headcrab and Tentacle.
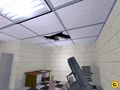
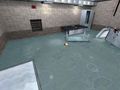
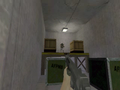
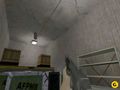
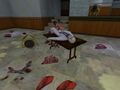
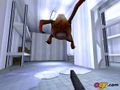
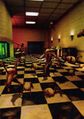
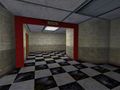
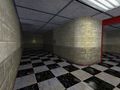
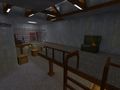
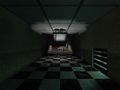
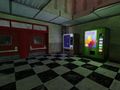
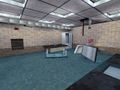
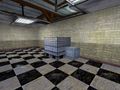
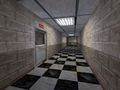
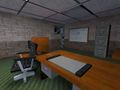
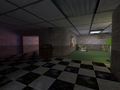
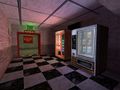
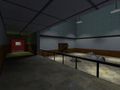
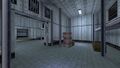
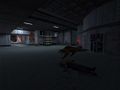
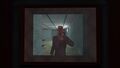
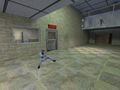
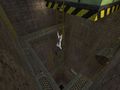
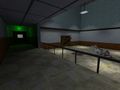
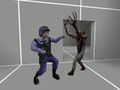
Gallery[edit]
Alpha[edit]
The basement.
Ditto.
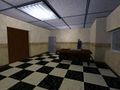
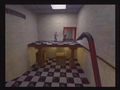
The break room.
Ditto.
The office near the first hall.

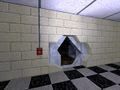
Crate puzzle.

Storage room.

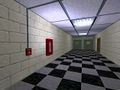
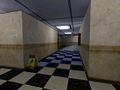
The first floor.

Ditto.
Ditto, offices.
Ditto, offices.
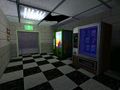
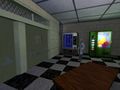
The vending machines.
The alternate entrance to the third floor.
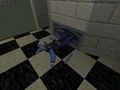
Security guard getting pulled by an unseen monster through an air duct.
An early security guard behind a desk.
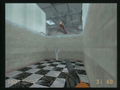
Slippery floor.
The room with no exit.
Unused elevator shaft.
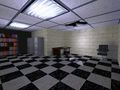
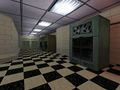
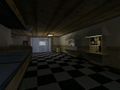
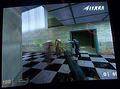
The cafeteria on the second floor.

From another angle.
The bathroom.
The kitchen.

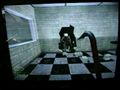
The freezer.

Unused holes for the Zombies on the fourth floor.

Unused elevator.

The elevator shaft.


Pre-release[edit]
The basement.
The break room.
Scientist trying to open a locked door.
Scientist being pulled by an unseen monster into the ceiling.

The flooded laboratory.
Ditto, inside.
The storage room.
Ditto.
More recent version.
Ditto.
The first floor offices.

More recent version.
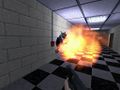
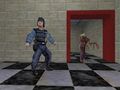
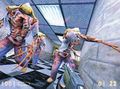
Shooting a soldier.
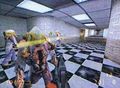
Zombie eating a dead scientist.
Headcrab attacking the player.
Censored Zombies and a Headcrab.
Promotional poster.
Zombie hitting a vending machine.
Scientist trying to revive a wounded security guard.
Ditto.
Zombie getting shot by an Automatic Turret.
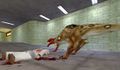
Bullsquid consuming a scientist.
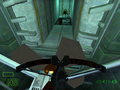
Ventilation tunnel.
Bullsquid chasing a scientist in the cafeteria.
Another view.
More recent version.
A large walk-in freezer.
Ditto.
Ditto.
Ditto.

Ditto.
The third floor balcony.
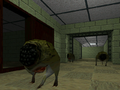
Bullsquid on the third floor.
Zombie coming out of a wall.

Ditto.

Ditto.
Ditto.
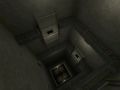
The elevator shaft.
The dangling scientist.
A security guard about to get killed by a Zombie.
Ditto.
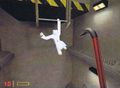
Scientist jumping out of a window.
Zombie jumping down.
Ditto.
Security guard getting attacked by Zombies.
Ditto.
The same area.
From another angle.
Houndeyes in an unknown location.[b]
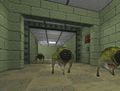
Ditto.
Zombies in an unknown location.
Ditto.
Houndeyes in an unknown location.[b]
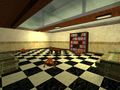
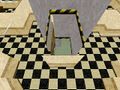
Cut location.[c]
Ditto.
Ditto.
Ditto.


Half-Life: Day One[edit]
The basement.
Ditto.
The map
c1a2dis part ofc1a2in this version.


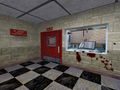
Retail[edit]

The basement.
Ditto.
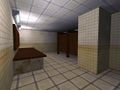
The executive lounge.
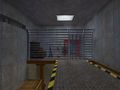
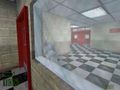
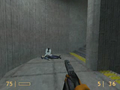
Security guard behind a locked fence area.
The flooded laboratory.
Ditto, inside.
Crate puzzle.

Storage room.
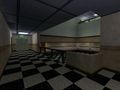
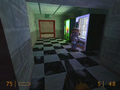
The administration offices, first floor.
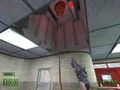
Scientists getting pulled by an unseen monster through an air duct.
The administration offices, first floor.
The vending machines.
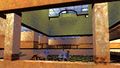
The cafeteria.
A large walk-in freezer.
Ditto.
The G-Man behind a locked door.
Scientist jumping out of a window.
Dangling scientist in the elevator shaft.

The directions sign, saying "work harder, not smarter" in green font.

Dr. Newell's door sign.

Dr. Van Buren's door sign.


Dreamcast[edit]
The elevator malfunctions.
The basement.
Ditto.
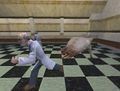
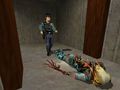
Bullsquid over a dead scientist.
The cafeteria.


Other[edit]

Remake of a cut scripted sequence.
Cut scripted sequence:
barney_locked_door.
Remake of a cut scripted sequence:
shockjump.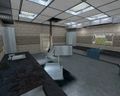
The original flooded laboratory as seen in the The Portal Device in the Half-Life Alpha.
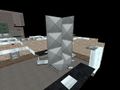
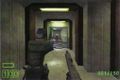
Unused air duct in the flooded laboratory, most likely to be used by a Headcrab.
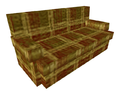
Unused couch texture.

Office, the multiplayer map.


Associated media[edit]
 Additional images related to Office Complex
 Half-Life: Preliminary Findings - Introduction (intro.mpg) on YouTube
- Half-Life (pre-release) - Trailer (offices.mpg) (E3 1998) on YouTube
- Half-Life (pre-release) - Trailer (valve.avi) (1997) on YouTube
- Half-Life (pre-release) - Trailer (indeep.mpg) (1997) on YouTube
- Half-Life (pre-release) - Trailer (grunt.mpg) (1997) on YouTube
- Half-Life (pre-release) - Trailer (headcrab.mpg) (1997) on YouTube
- Half-Life (pre-release) - Trailer (half.avi) (1997) on YouTube
- Half-Life (pre-release) - Trailer (8.17mpeg.avi) (1997) on YouTube
- Half-Life (pre-release) - Trailer (GameStar magazine) (1997) on YouTube
- Gabe Newell playing Half-Life (1998) on YouTube
Notes[edit]
- ↑ The demo (.dem) files (previously recorded footage of the game) in Half-Life Alpha appears to be recorded by the creators of the maps.
c1a2a.demwas recorded by Choryoth, which is the alias of John Guthrie. - ↑ 2.0 2.1 The wall and the floor textures indicate that this could be a location in the cafeteria on the second floor.
- ↑ The location featured on the cover of the game was erroneously believed to be created specifically for the box. According to Marc Laidlaw, it was a level that was cut. The screenshot was taken by Laidlaw himself, and the creatures were added by Greg Coomer. It is unknown where the room was located at, but more information can be found by examining the alignment of the textures. The entrance at the back is facing east, and the right wall is facing south.[5]
References[edit]
- ↑ 1.0 1.1 Game Design: Secrets of the Sages by Marc Saltzman (1999)
- ↑ Half-Life (
sentences.txt) - ↑ Half-Life Alpha Walkthrough (
WalkThru.doc) (September 4, 1997) - ↑ Half-Life Prima Guide
- ↑
 Tweet: "It was a level, but you’re right, it got cut. I took that screenshot! (Tho I think all the critters were added by @gregcoomer.)" @marc_laidlaw (Marc Laidlaw) on Twitter (August 6, 2016) (archived)