Sector F
For other uses, see Lambda (disambiguation). |
| Warning! This article has yet to be cleaned up to a higher standard of quality, per our Cleanup Project. It may contain factual errors and nonsense, as well as spelling, grammar and structure issues, or simply structure problems. Reader's discretion is advised until fixing is done. | ||
|---|---|---|
You can help clean up this page by correcting spelling and grammar, removing factual errors and rewriting sections to ensure they are clear and concise, and moving some elements when appropriate. |
| This article would greatly benefit from the addition of one or more new images. | ||
|---|---|---|
Please upload one or several relevant images (from canonical / official sources) and place it here. Once finished, this notice may be removed. |

| |
| Sector F | |
|---|---|
| General information | |
| Destroyed |
200-, during the Black Mesa Incident |
| Location | |
| Usage | |
| Era(s) | |
| Faction | |
| Map(s) |
|
- "If anyone can end this catastrophe, it's the science team in the Lambda Complex, at the opposite end of the base."
- ― Black Mesa scientist[src]
Sector F, also referred to as Sector F Lambda Complex,[1] or simply The Lambda Complex, is one of the seven main Sectors of the Black Mesa Research Facility.[1]It is connected to the Yellow Line of the Black Mesa Transit System.[1]
Contents
Overview[edit]
The Lambda Complex is the sector of Black Mesa dedicated to teleportation research. It becomes one of the most important locations after the incident due to the science team and the equipment there being the only way to end the alien invasion. The Lambda logo is used as the symbol for the facility and can be seen on its signs and doors, with the complex being named after the symbol as well.
Known locations[edit]
Lambda Bunker[edit]
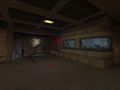
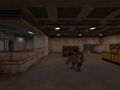
The Lambda Bunker[a] is the last area before entering the Lambda Complex. It houses the Black Mesa Central Complex. The sub areas include Loading Bay 3, canals, and the Mechanized Infantry Repair Bay.
Gallery[edit]
Pre-release[edit]
The loading bay.
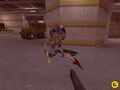
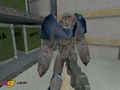
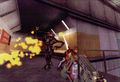
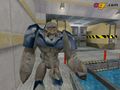
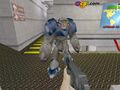
An early Alien Grunt attacking the player.
Ditto.
Ditto.
Ditto.
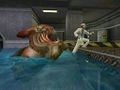
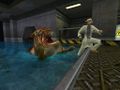
Ichthyosaur attacking a scientist in the canals.
Ditto.
Ditto.
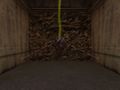
The radioactive leak.


Retail[edit]
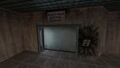
The booth.
The entrance.
The loading bay.
The inaccessible elevator.
A Snark Egg.
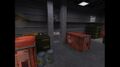
The basement.
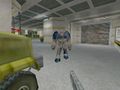
Vortigaunts near an hatch.
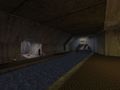
The canals.


Ditto.
A tank.

The radioactive leak.
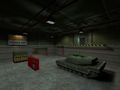
The repair bay.
The Energy Cannon.
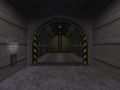
The gate.
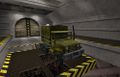
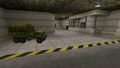
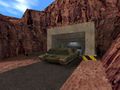
M44 cargo truck at the entrance of the Lambda Complex.

Lambda Complex door.

Lambda Complex logo.


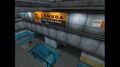
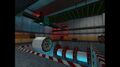
Hazardous Materials Handling Bays[edit]
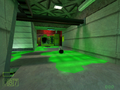
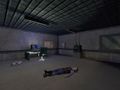
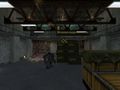
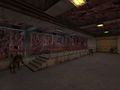
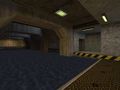
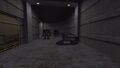
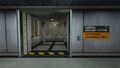
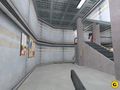
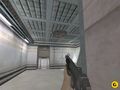
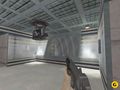
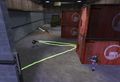
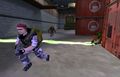
Hazardous Materials Handling Bays A and B serve as storage areas and the entrance to the complex. In Bay A, Gordon Freeman fights a squad of Black Ops assassins. At the time of the incident, Bay B is the last entrance to the Reactor Complex, as all the others have been sealed off to contain the invasion. There is also the Test Firing Chamber, a target range where they test experimental weapons on alien creatures. This is where Gordon acquires the Gluon Gun.
Gallery[edit]
Hazardous Materials Handling Bay A.
Hazardous Materials Handling Bay B.
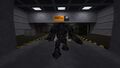
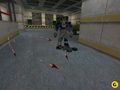
An Alien Grunt at the door of the facility.
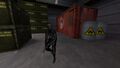
A Black Ops assassin trying to locate their target.
The Lambda Coolant System lift.
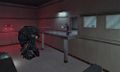
The test firing chambers.
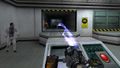
Using one of the test firing chambers.


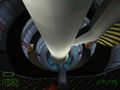
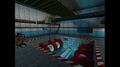
Lambda Reactor Coolant System[edit]
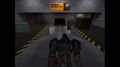
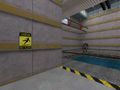
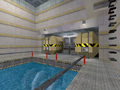
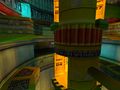
The Lambda Reactor Coolant System houses Coolant Systems 01 and 02 used for maintaining the reactor core at the correct temperature. These systems include a Coolant Tank and Pump Station. The player is required to activate the pumps to flood the reactor in order to reach the upper areas through a maintenance access shaft.
Gallery[edit]
Pre-release[edit]
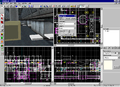
Level editor shot.
Early Tau Cannon design and effects.
Early Shotgun in an early Sector F.


Retail[edit]
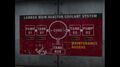
Coolant System map.
Entry to the Coolant System.
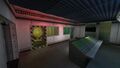
Vortigaunts communicating over a corpse in the Lambda Complex.
Coolant Tank 01.
Pump Station 01.
Coolant Tank 02.
Pump Station 02.


Lambda Reactor[edit]
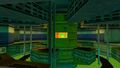
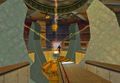
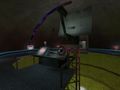
The Lambda Reactor consists of four levels. It houses a large nuclear reactor powering the teleportation labs. There is a large teleporter at the tip of the reactor which is used for sending Survey Teams to the alien world Xen. The player is supplied and sent to Xen to defeat the Nihilanth from here.
Another side of the reactor is accessed via a Secured Access of the Lambda Sector Transport located on level B of the Sector E Materials Transport. There, Adrian Shephard confronts Black Ops forces that took hold of the area. One vent found near the tracks directly links to level A of Sector F where Adrian witnesses Gordon's departure to Xen.
Gallery[edit]
Pre-release[edit]
Early "c3a2" map.
Ditto.
Ditto.
Early "c3a2a" map.

Ditto.
Ditto.
Ditto.
Ditto.

Ditto.
Early Lambda Reactor Core.


Retail[edit]
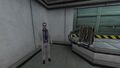
The G-Man teleporting away.
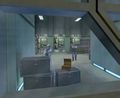
A teleportation experiment room.
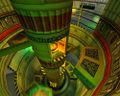
The Lambda Complex's main reactor.
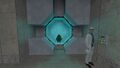
The teleportation core.
A scientist with a Shotgun.
The same room with empty HEV Suit containers.
A scientist introducing the Long Jump Module.
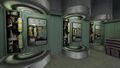
The Lambda Complex's main teleportation chamber.
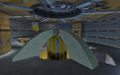
Gordon jumping into the portal as seen in Opposing Force.


Behind the scenes[edit]
As seen in the Half-Life texture files, several unused sign textures suggest that the Black Mesa Central Complex originally contained more areas apparently located before the Lambda Reactor Complex. All their filenames bear the prefix C3A1, used in all three maps covering the CenCom Bay 3 area. They are made in the same style as that of the "Black Mesa Central Complex" sign located above the two elevator doors and include a "CenCom" sign ranging from 1 to 8 accompanied with four arrow signs indicating the left, right, up and down directions, suggesting these areas were to spread on several levels. Another sign, "CenCom Reservoir Access", indicates that the small sewer system located near CenCom Bay 3 was to be indicated by a sign. Finally, the sign "Aero Bays" was also to be found, indicating that a helipad, a hangar, or an airstrip was to be located nearby.
Additional appearances[edit]
Half-Life (multiplayer)[edit]
Two Deathmatch maps are set in the Lambda Complex. One is Lambda Bunker, a modified version of CenCom Bay 3, and Rapidcore, which mostly randomly reuses several Lambda Complex signs.
Half-Life: Uplink[edit]
In this episode, Gordon starts in the Lambda Reactor Complex being under heavy bombardment, 48 hours after the Resonance Cascade occurs. The proper location would rather be outside one of the entrances to the Lambda Reactor Complex, while still being in Sector F.
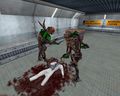
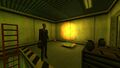
There, Gordon comes across a scientist and a security guard who wish to enter the Lambda Reactor Complex to get down to safety, but they cannot open the door until a signal is sent to the USNRC. However the transmitter to be used to send the signal must be reconfigured manually in the Transmitter Dome located on the surface. Freeman is sent to do it. On his way to the dome, Freeman fights Vortigaunts and HECU soldiers in Hangar 16 (texture reused from Topside Motorpool's Hangar 16), and later sees HECU soldiers executing scientists and cremating dead Vortigaunts. Upon reaching the Transmitter Dome, Freeman tunes the Transmitter to the USNRC after and before fighting more HECU forces, and heads back to the scientist and the security guard by passing through sewers filled with radioactive wasted and Xen creatures. After entering the Lambda Reactor Complex, the three get separated and Freeman is confronted by a Gargantua while the G-Man watches, after which the game ends.
Gallery[edit]
|
HECU soldiers battling Vortigaunts.
Ditto.
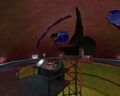
The transmitter dome.
The transmitter after being activated.
The G-Man spotted across the room while a security guard fires at a Gargantua.
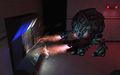
An angry Gargantua.


Trivia[edit]
The logos and signs seen in Sector F are very different in style from the other logos and signs seen elsewhere in the facility. This could suggest these levels were among the last to be designed or that Sector F is one of the most recent sectors of Black Mesa (as one of the fonts is also used in the relatively recent Biodome Complex). The particular font used for the large letters is Eurostile; the one used for the small letters is Helvetica LT Condensed Black.
List of appearances[edit]
Main games[edit]
- Half-Life (First appearance)
- Half-Life: Opposing Force
- Half-Life: Blue Shift (Black Mesa Transit System map only)
- Half-Life: Decay (Mentioned only)
Other[edit]
- Half-Life: Uplink (Non-canonical appearance)
Notes[edit]
- ↑ While this name is not mentioned in the game, the multiplayer map based on the area is called Lambda Bunker. The entities also use the prefix "bunker". In addition to these, a scientist refers to the area as a bunker in one of the unused lines.
References[edit]
| Preceded by Waste Processing Area 3 |
Half-Life story arc journey | Succeeded by Xen |
| Preceded by Sector E Materials Transport |
Half-Life: Opposing Force story arc journey | Succeeded by Xen |